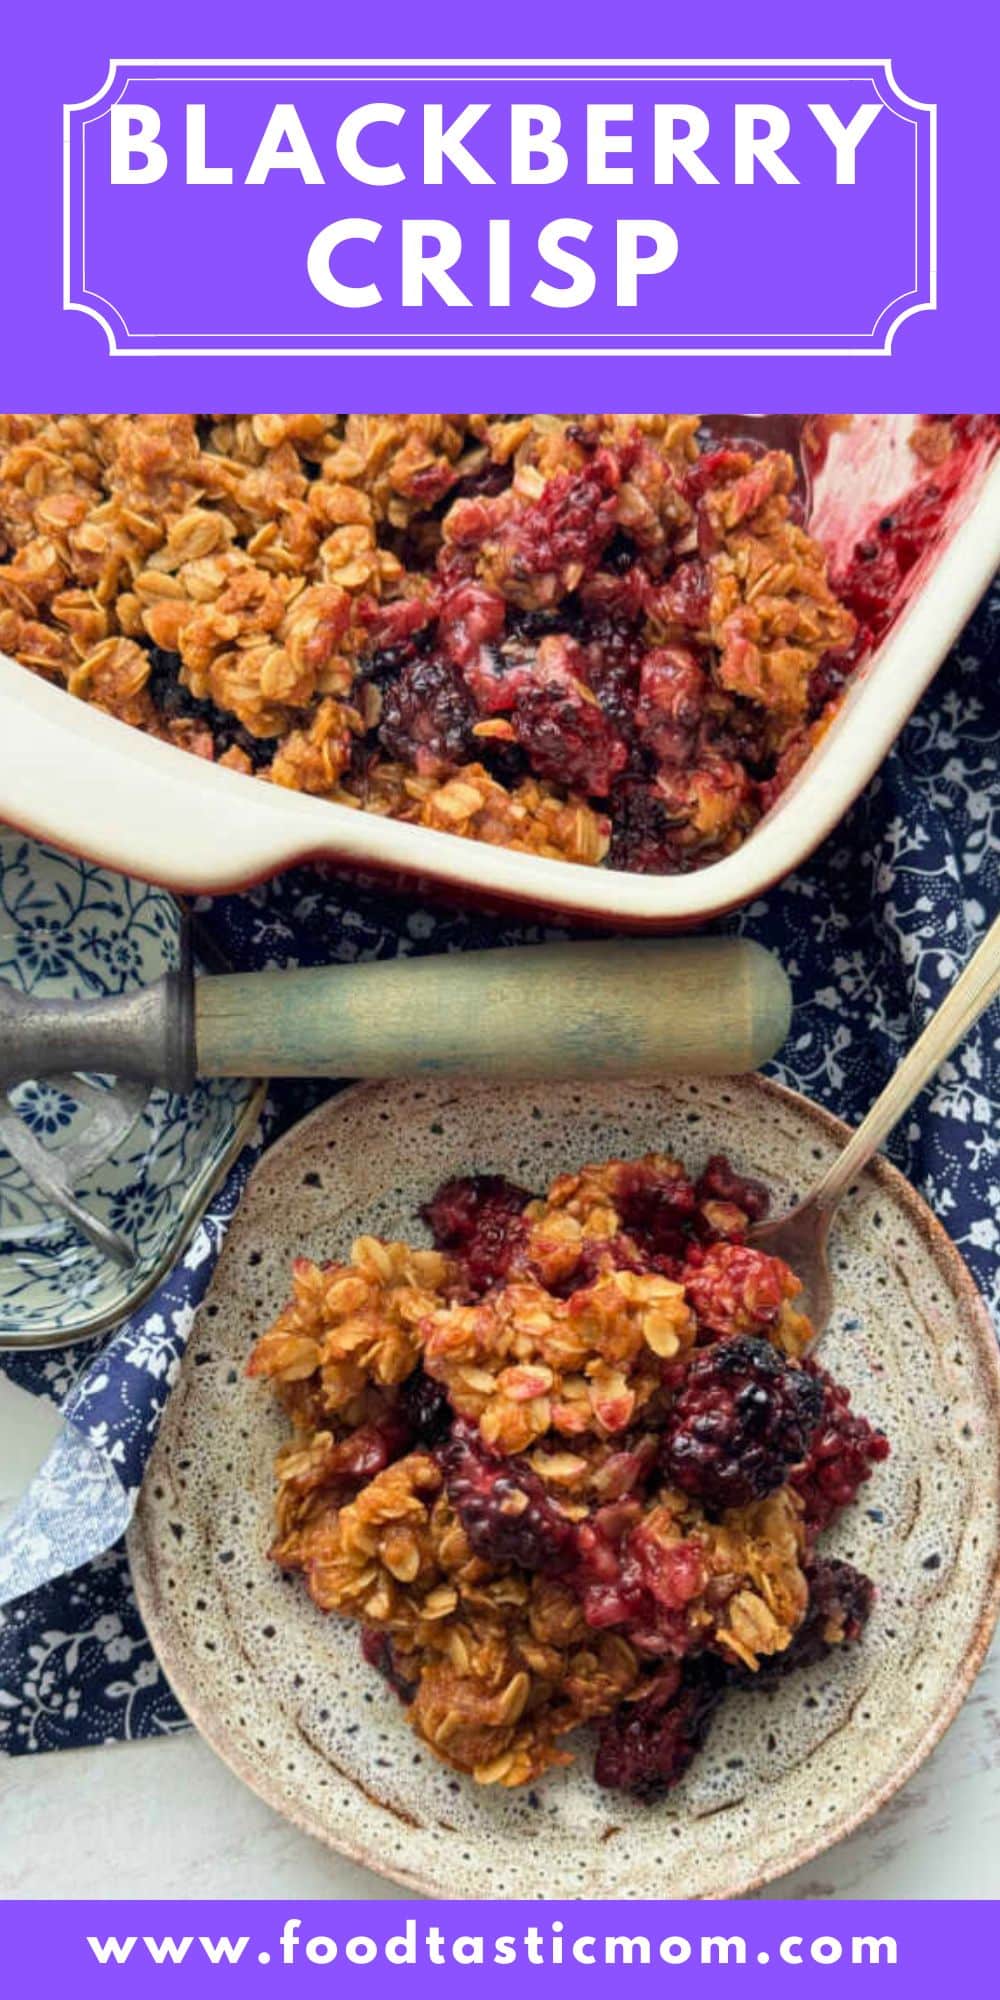
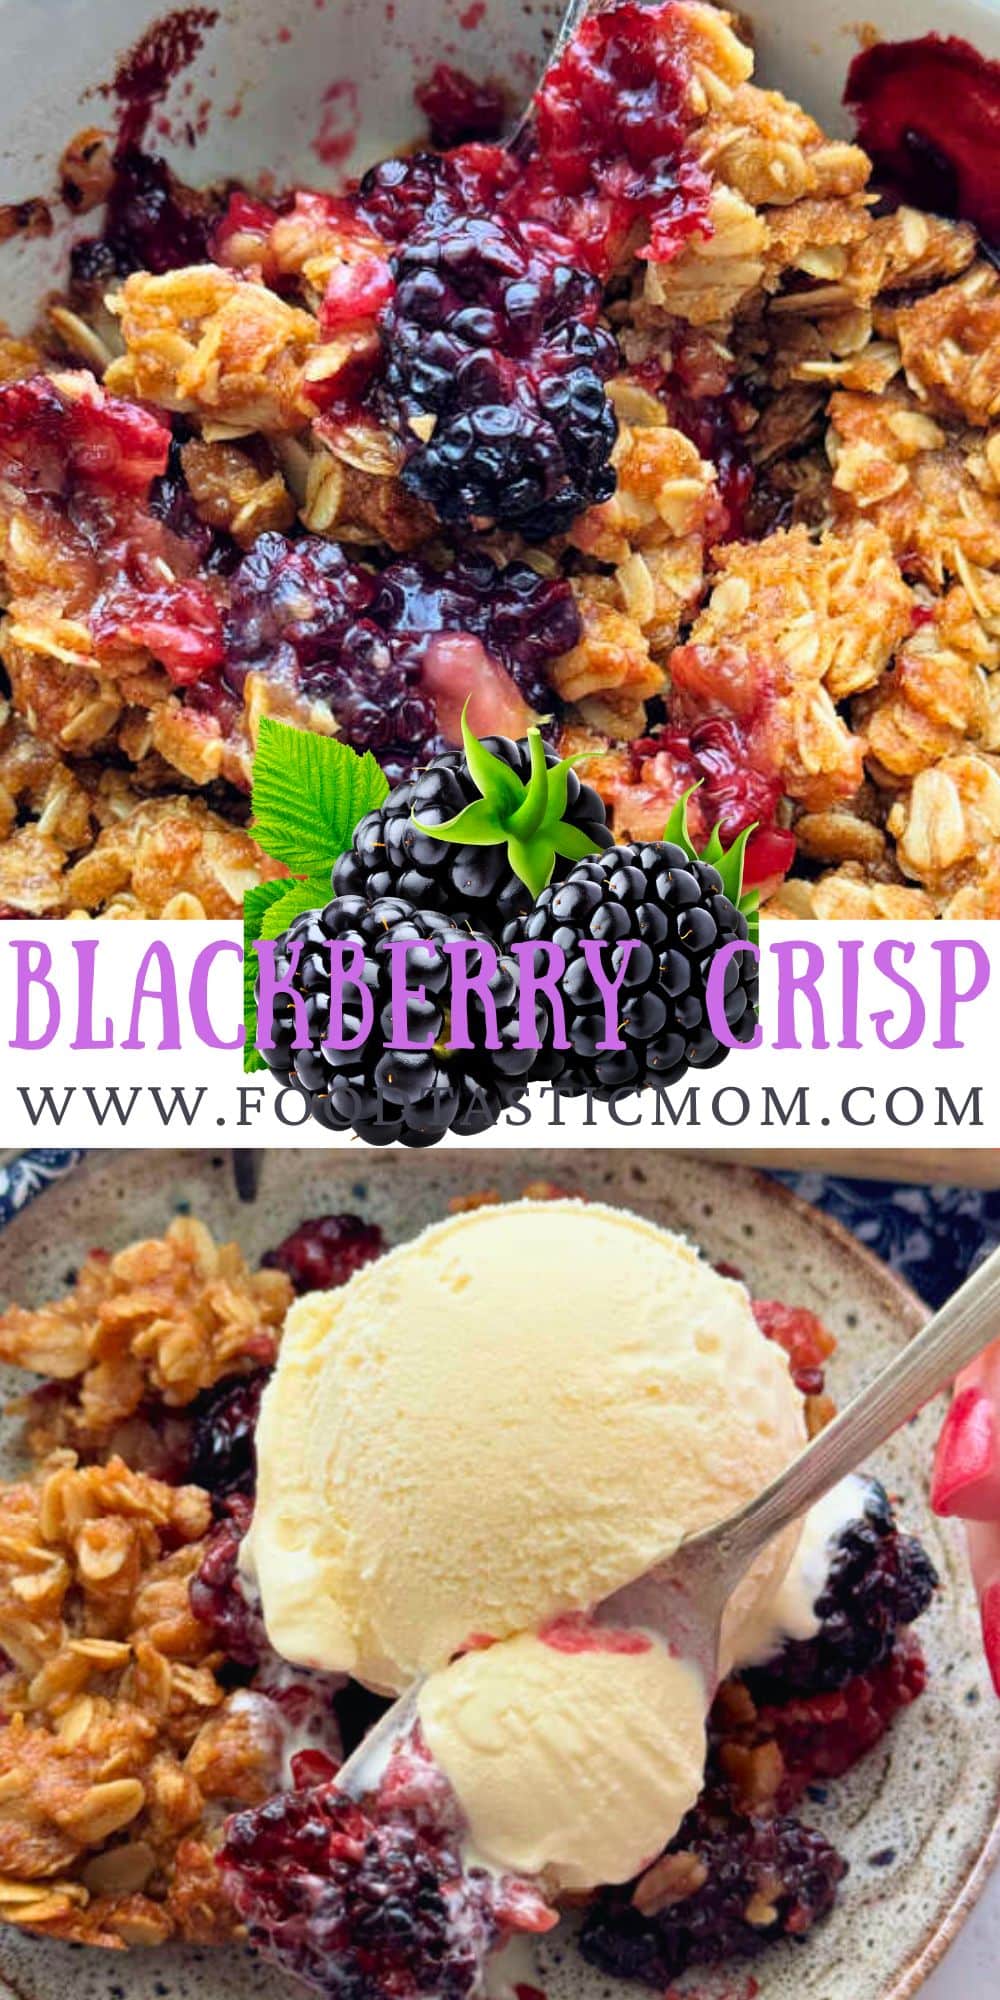
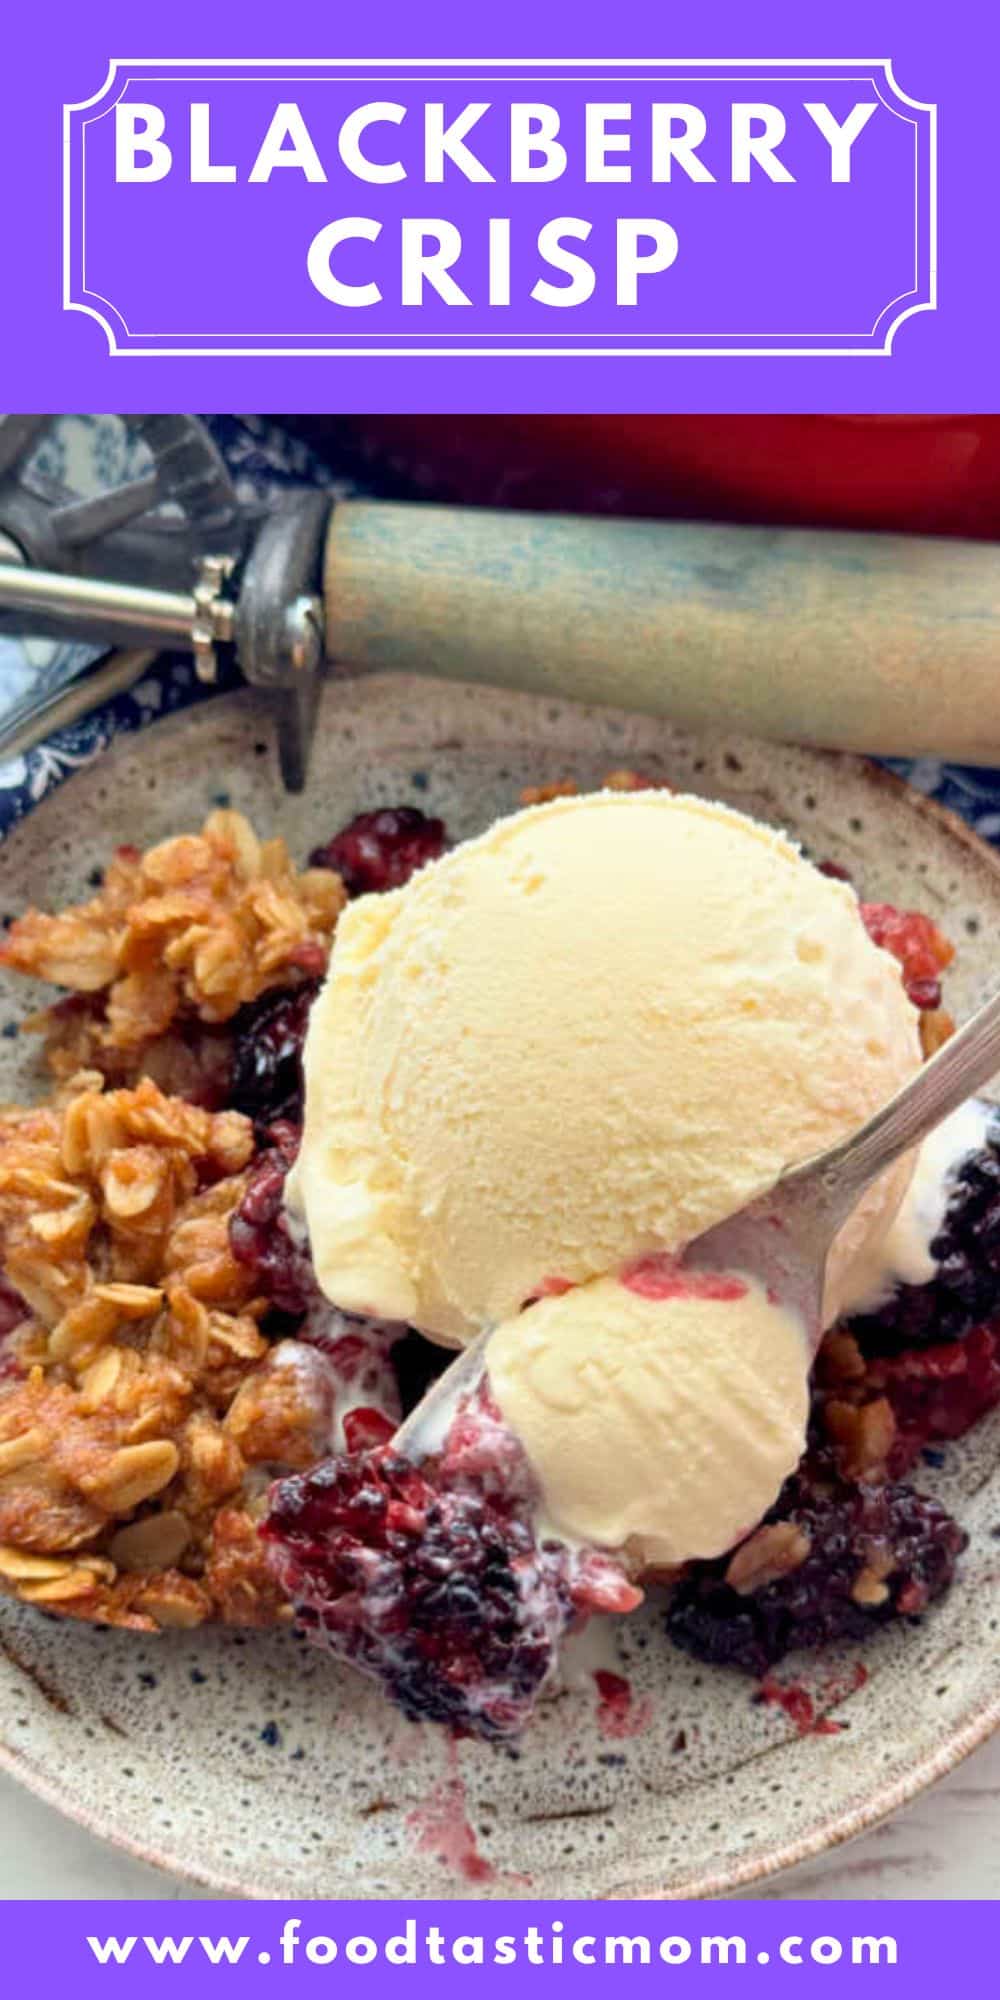
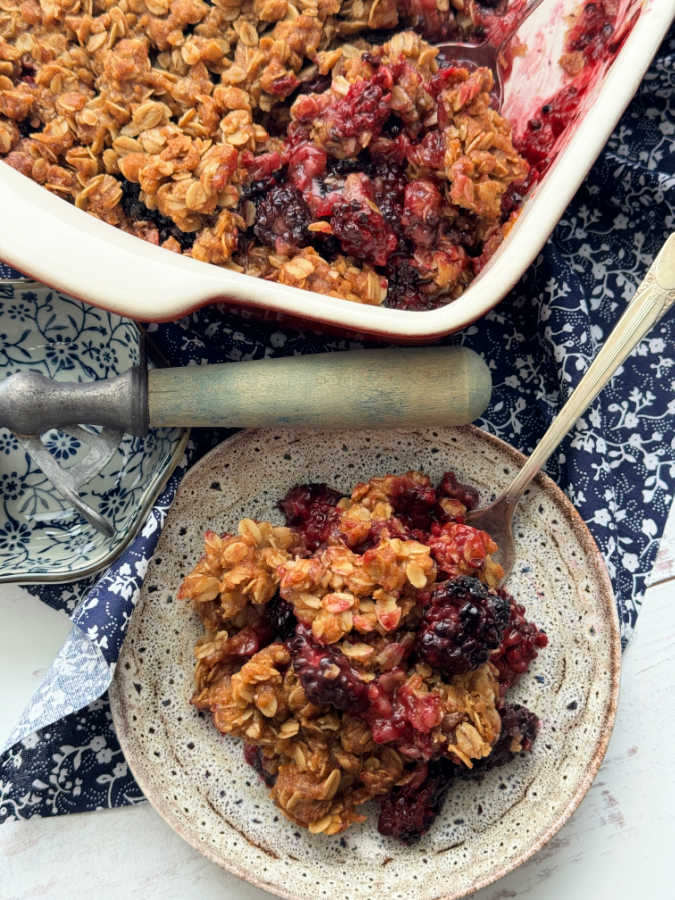
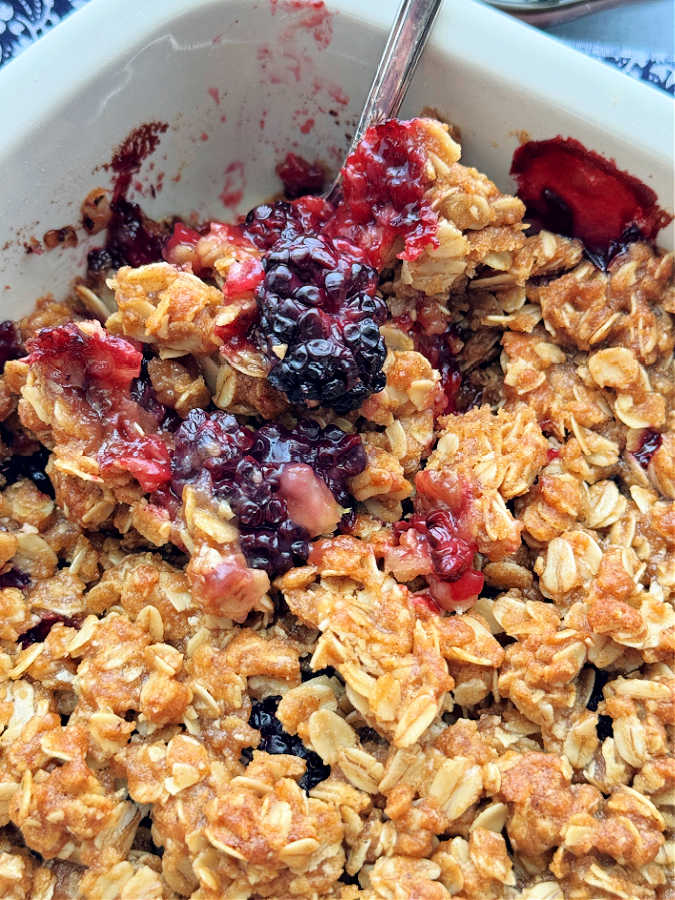
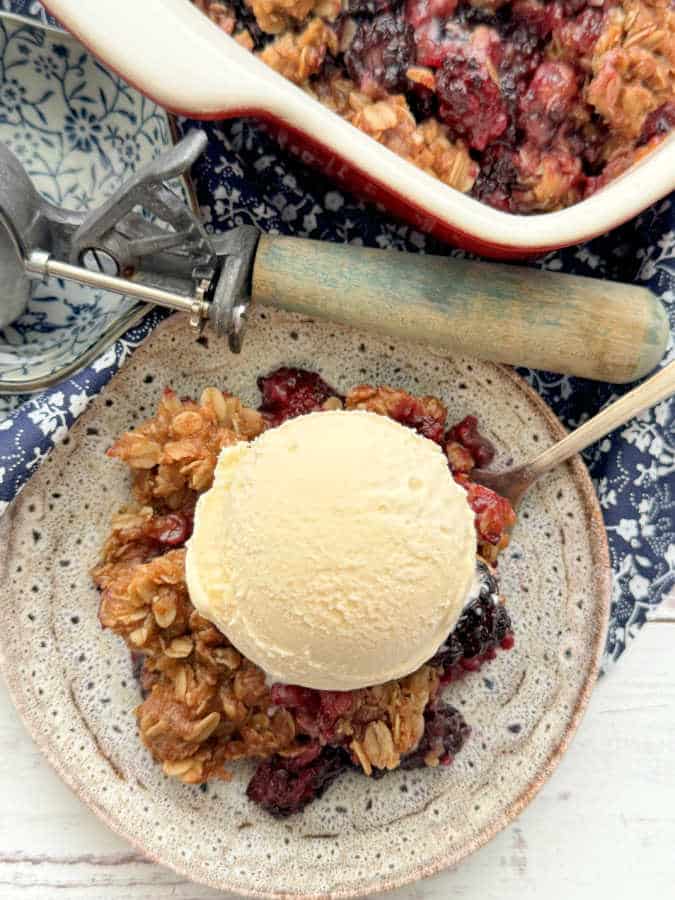
There’s nothing like indulging in my Blackberry Crisp, with the best crunchy oat topping, fresh blackberries and a big scoop of vanilla ice cream.
If you like my blackberry crisp recipe, try my Bourbon Peach Crisp next!
Want to save this recipe?
Enter your email & I'll send it to your inbox. Plus, get great new recipes from me every week!
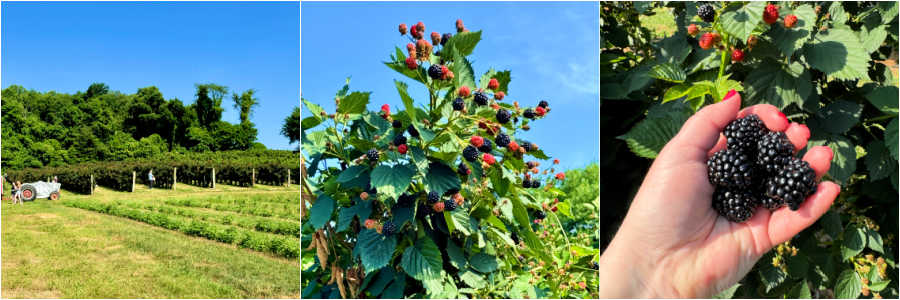
I visited some of my dear college friends recently and we went blackberry picking one morning. I’d picked raspberries, blueberries and strawberries before. But this was my first time picking fresh blackberries. It was a quick process yielding an 8 pound bucket of the sweetest, juicy blackberries I’d ever eaten.
We ate them fresh each morning and made a delicious blackberry crisp. And my friend made blackberry jam with the rest. My trip inspired me to come home and make my own version of easy blackberry crisp. Crisp desserts are so easy to make and definitely one of my favorite desserts. They are in my opinion the best way to show off the season’s freshest fruit.
More recipes for fruit crisps
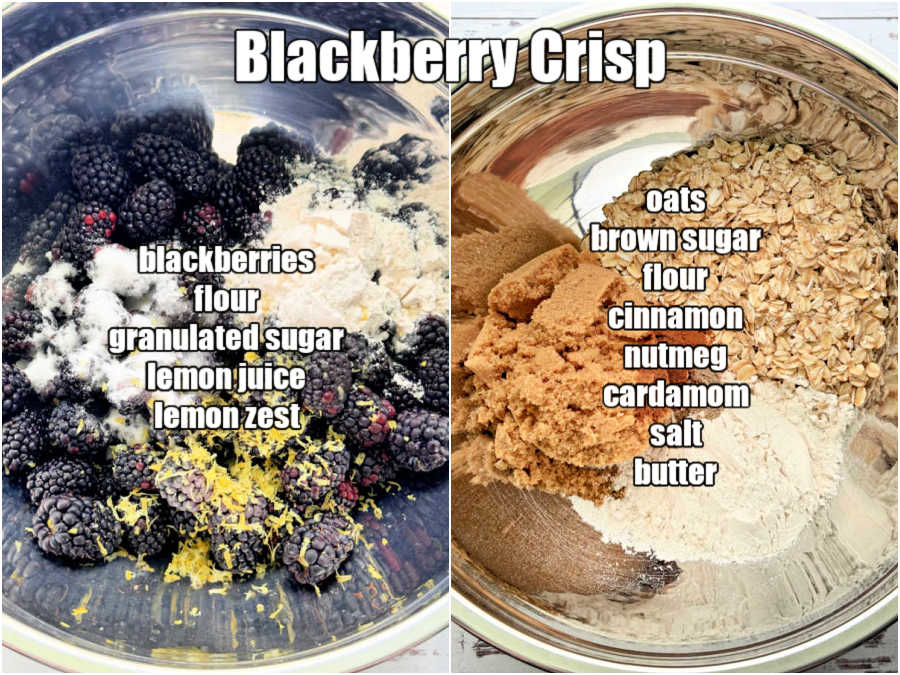
Ingredients for blackberry crisp
- Blackberries – You need a generous 5 cups of fresh berries for this dessert recipe. You could also use frozen berries instead, but I prefer fresh.
- Oats – I prefer using old-fashioned oats because I like the structure they give to the crunchy topping. You could use quick-cooking oats if you prefer. But this is not a recipe for steel-cut oats!
- Flour – I tested this recipe with all-purpose flour. If you try oat flour or gluten-free flour, let us know in the comments how it turns out.
- Light Brown Sugar – I prefer light brown sugar for making the oat topping. You could use dark brown sugar if you prefer although it will be a stronger flavor.
- Granulated Sugar – A little sugar to add just enough sweetness to the blackberry filling.
- Butter – Melted butter helps the topping to stick together and bake into a crunchy, buttery treat.
- Lemon – One whole lemon for zest and juice to brighten and contrast with the sweet flavors in this dessert.
- Seasonings – My recipe calls for cinnamon, nutmeg and cardamom plus a little salt. You could also add vanilla extract to the filling. Or you could use orange juice and zest instead of lemon juice. Feel free to experiment with the extra flavors.
Instructions
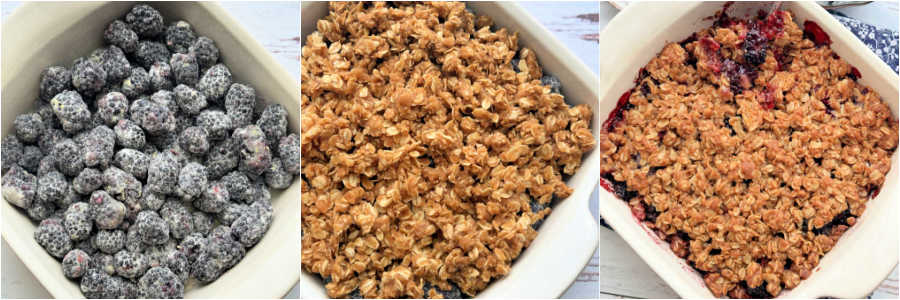
In a large bowl, gently toss the blackberries with a little flour, sugar, zest and juice of the lemon. Spread them evenly into a baking dish. Melt the butter. Stir in the remaining flour, brown sugar, the oats, cinnamon, nutmeg, cardamom and pinch of salt. Use your fingers or a spoon to evenly sprinkle and/or spread the oat mixture over the top of the blackberries. Bake the crisp in a 350 degree F oven for about 1 hour or until the topping is lightly browned and fruit filling is bubbling. After the crisp cools, serve it with scoops of vanilla ice cream.
Pro tips
How do you keep blackberry crisp from getting soggy?
The key is allowing your crisp to cool completely. Keep it uncovered and allow it to cool for 2 – 3 hours before covering it loosely with plastic wrap. If you cover the crisp while it is still warm, steam will collect and make the topping get a little soggy.
To save time, I prefer to use melted butter for making my oat crumble topping. If you prefer to cut pieces of cold butter into the oat mixture (like making pie crust), use a sturdy pastry cutter similar to this one.
Place your buttery oat topping mixture in the refrigerator for a couple of minutes. This will firm up the melted butter and make the crunchy topping easier to crumble by hand over the blackberries.
I prefer making this crisp recipe with fresh blackberries. But you can use frozen if you prefer.
Serving suggestions
Topping warm fruit crisp with your favorite vanilla ice cream is the best way to serve it, in my opinion. Homemade whipped cream or yogurt are great topping choices too. Or make blackberry crisp as a dessert for an end of summer meal of bourbon burgers, corn on the cob and sliced tomatoes.
Storage directions
Fresh blackberry crisp needs to be refrigerated because of the butter. Store it in an airtight container (after cooling completely to room temperature) in the refrigerator for up to one week. I like to eat it cold, especially in the morning, topped with some plain Greek yogurt. You could also reheat it in the oven to warm it back up and dry out the topping. Preheat the oven to 350 degrees F and bake the crisp in an oven safe dish, uncovered, for 15 minutes.
Kitchen tools
- I like using a ceramic baking dish for crisp recipes – it’s pretty for serving straight from the dish
- This is my favorite nesting mixing bowl set – it comes with lids and the bottoms are rubberized to stick and not slide around on your counter
- I love this style of ice cream scoop for serving homemade vanilla ice cream – both on its own and as a topping for this blackberry crisp
Blackberry Crisp
Equipment
- 1 8 x 8 Square Baking Pan
Ingredients
Blackberry Filling
- 5 cups blackberries
- 1/4 cup all-purpose flour
- 1/4 cup granulated sugar
- 1 tbsp lemon zest
- 2 tbsp lemon juice
Crisp Topping
- 10 tbsp butter melted
- 1 1/4 cups old-fashioned oats
- 3/4 cup light brown sugar
- 1/3 cup all-purpose flour
- 1 tsp cinnamon
- 1/2 tsp nutmeg
- 1/2 tsp cardamom
- 1/4 tsp salt
Instructions
Blackberry Filling
- Preheat oven to 350 degrees F.
- Wash and dry blackberries. In a large bowl, mix together the blackberries with the 1/4 cup flour, 1/4 cup granulated sugar, lemon zest and lemon juice.
- Spread the blackberry filling evenly into an 8 x 8 baking dish.
Crisp Topping
- In a microwave safe measuring cup or bowl, melt the butter.
- In a clean, large bowl mix together the oats, brown sugar, remaining flour, cinnamon, nutmeg, cardamom and salt.
- Add the melted butter and stir together until well combined. Put the bowl in the refrigerator for a couple of minutes to make the topping easier to work with.
- Use your hands or a spoon to evenly crumble the oat topping mixture on top of the blackberry filling.
- Bake the crisp for about one hour, or until the topping is lightly browned and the filling is bubbling.
- Allow to cool, uncovered, on the counter for about one hour before serving.
Nutrition
Foodtastic Mom is a participant in the Amazon Services LLC Associates Program (Amazon Associate), an affiliate advertising program designed to provide a means for sites to earn advertising fees by advertising and linking to Amazon.com. Any highlighted, clickable Amazon links you see are affiliate links that I may earn advertising fees on when you click to purchase.
Thank you so much for being a faithful reader and supporter of Foodtastic Mom. Be sure to PIN to Pinterest and print this recipe! Like and tag ‘Foodtastic Mom’ on Facebook and Instagram if you make this recipe! And of course leave a star rating if you make any of my recipes and enjoy them!



Leave a Reply