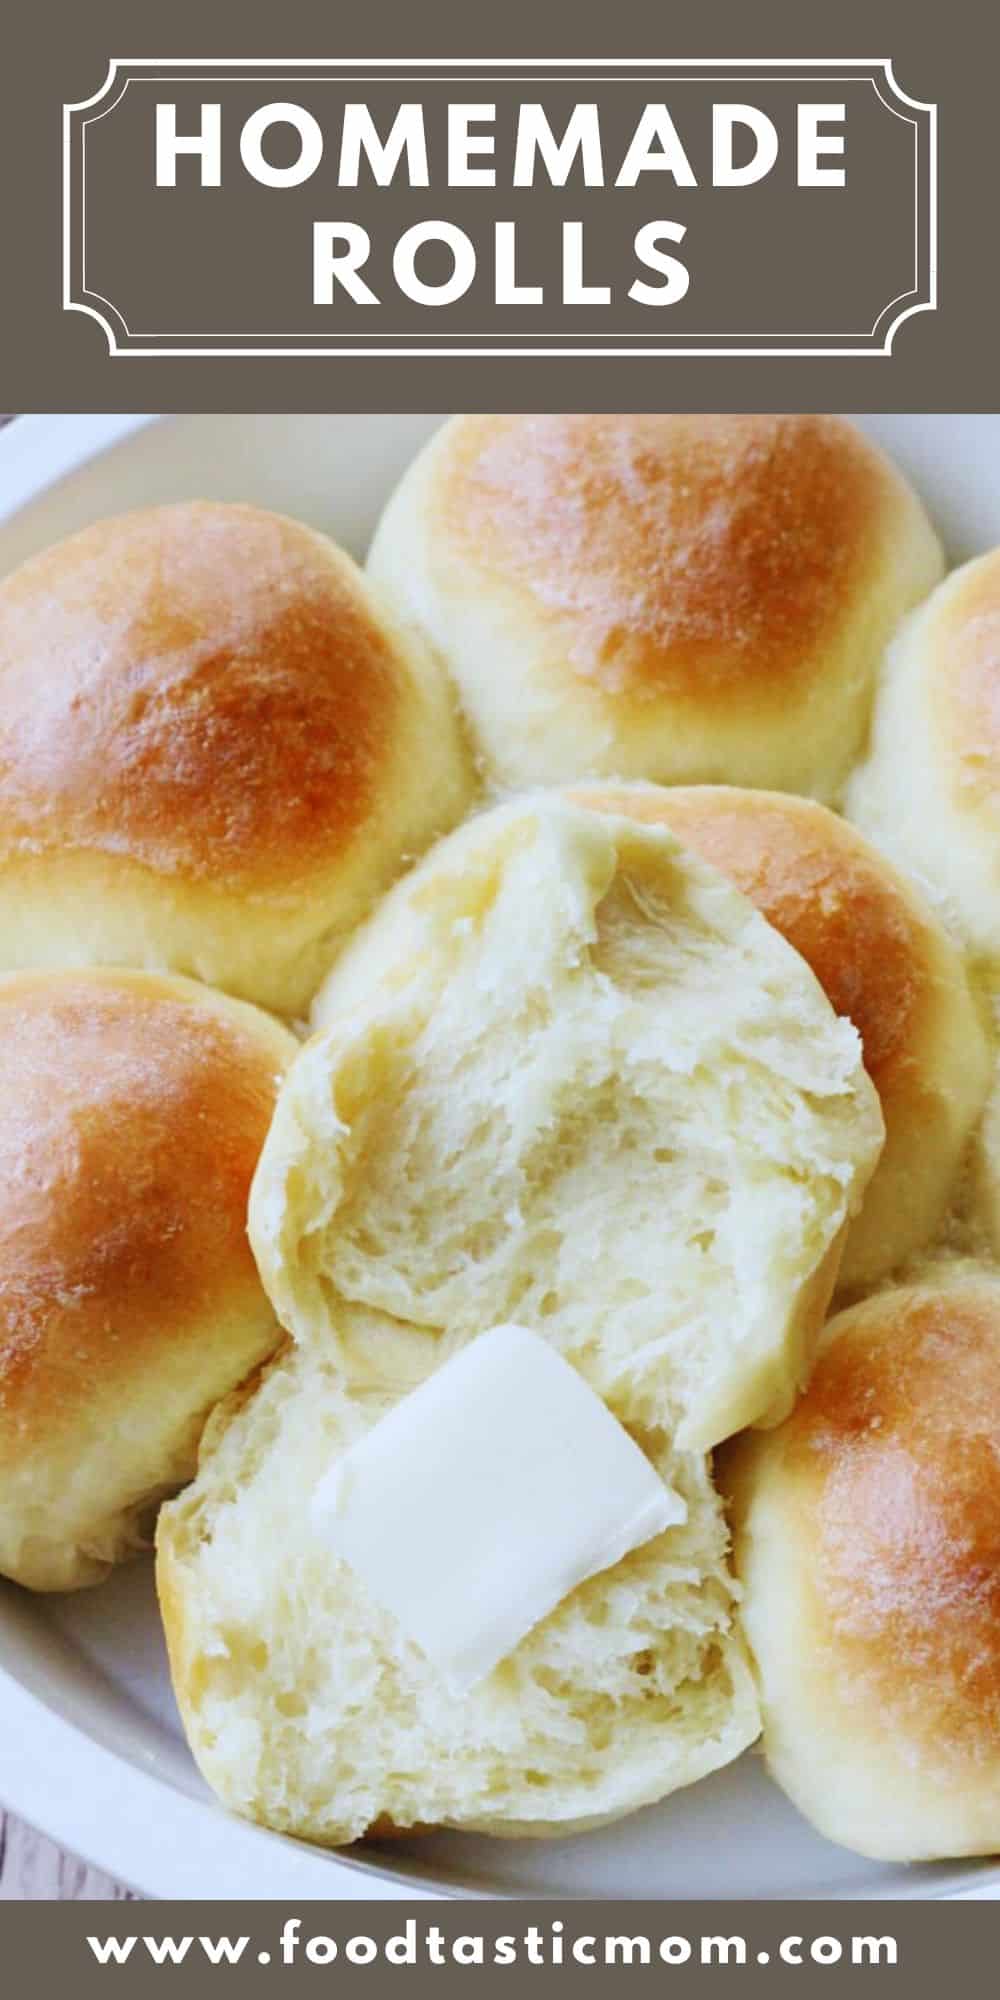
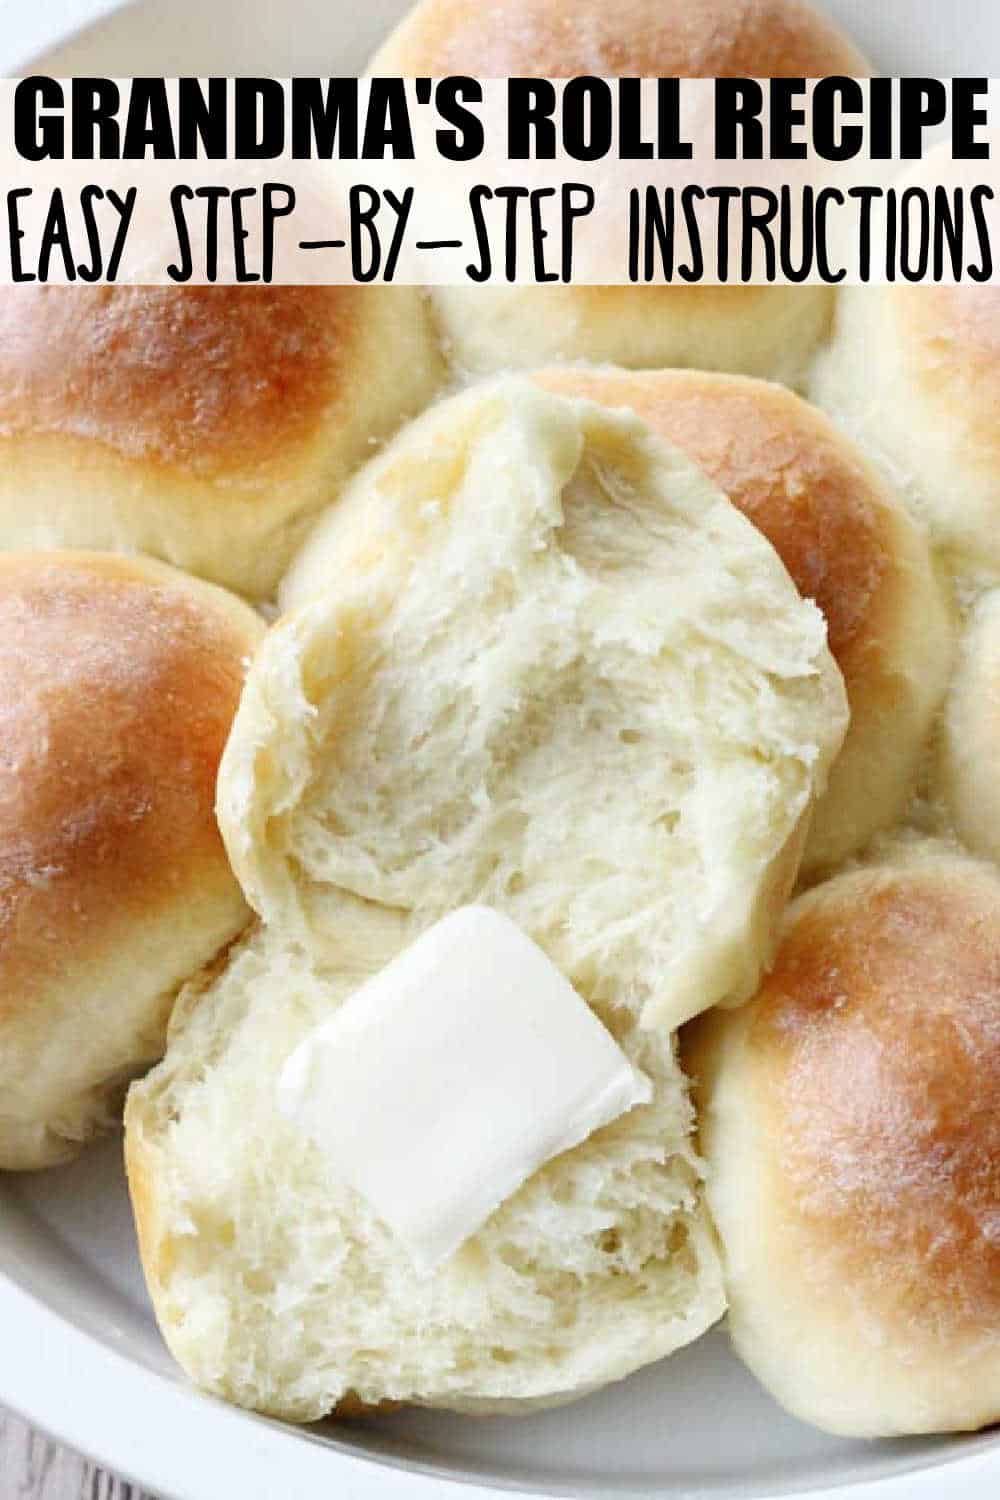
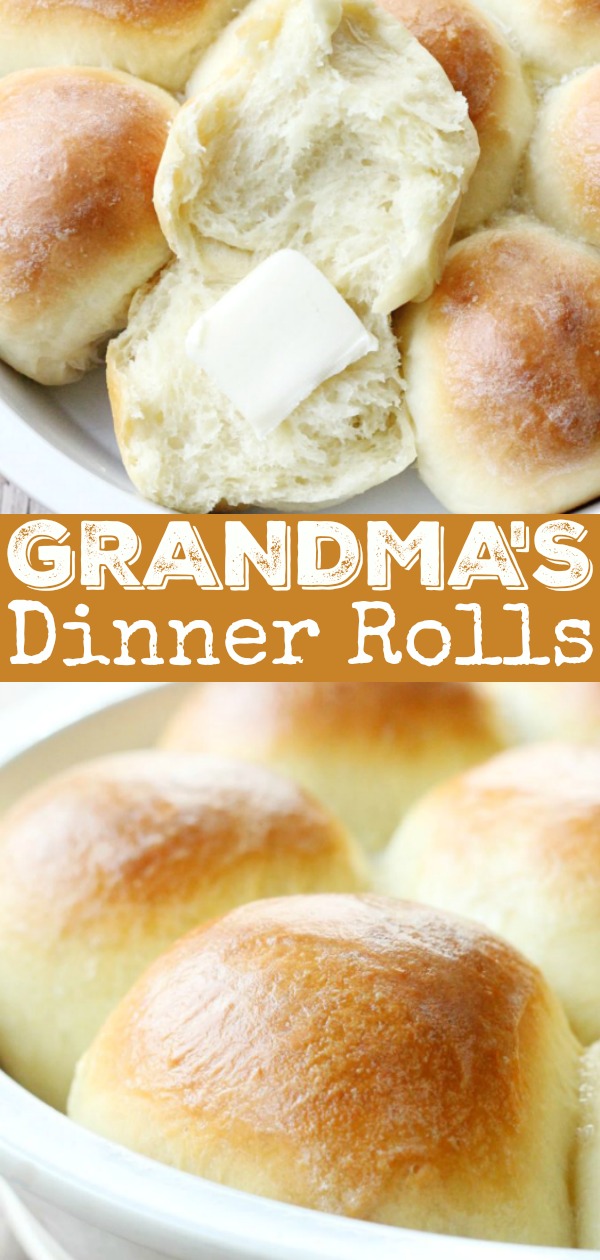
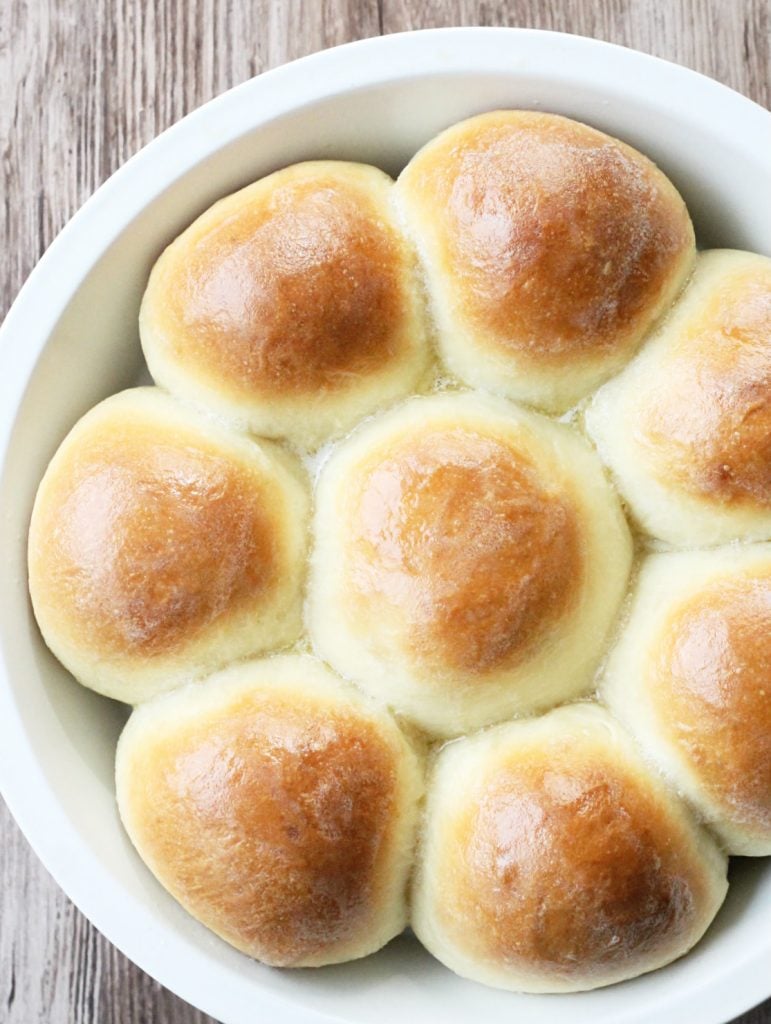
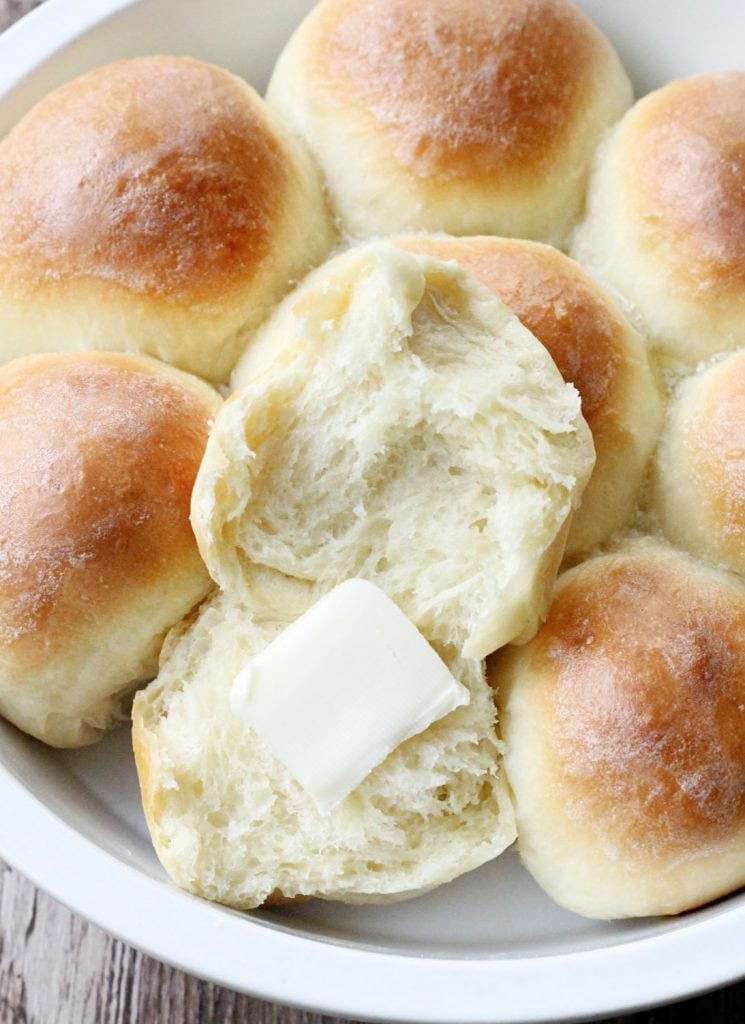
My Grandma’s Dinner Rolls Recipe is practically fool-proof. It is the perfect dinner roll recipe for all your holiday meals.
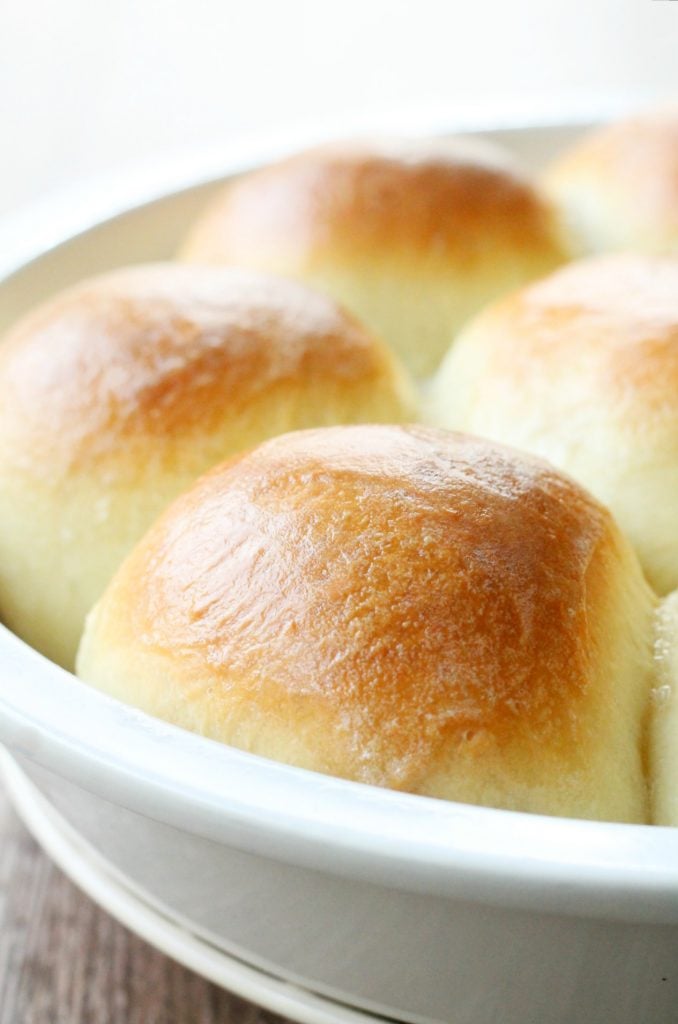
I call these Grandma’s Dinner Rolls Recipe because I follow my own Grandma’s handwritten recipe card to make them. In researching the ingredients, it seems like it was a popular recipe in the 1950’s. But to me this recipe belongs to my Grandma, so I am giving credit to her.
Want to save this recipe?
Enter your email & I'll send it to your inbox. Plus, get great new recipes from me every week!
This dinner roll recipe calls for the simplest of ingredients: flour, yeast, sugar, salt, milk, eggs and butter. Using butter is a change I made, as the original did call for shortening, but I am not in the habit of using shortening. I also had to look up how to scald milk and found it can be done easily in the microwave. The reason behind scalding milk in baking is that the whey protein in milk can weaken gluten, causing the dough not to rise properly. Scalding deactivates the protein. (source: The Kitchn)
With the butter, egg and sugar in the dough I guess these rolls could be considered a type of brioche dough. They are absolutely delicious and I look forward to making them each holiday season starting at Thanksgiving. Attention novice bakers! This dough can be made in a stand mixer and it is very easy to shape into rolls. As long as they rise properly, they bake perfectly. My daughter has started helping me make them. I think it’s cool to have her helping make her great Grandma’s rolls.
Tips for Grandma’s Dinner Rolls Recipe:
- I use a digital thermometer like this one to make sure the scalded milk is the correct temperature (105 – 110 degrees F) before adding it to the yeast.
- This dough browns quickly. It’s best to bake these rolls with your oven rack set to the lower middle part of your oven.
Foodtastic Mom is a participant in the Amazon Services LLC Associates Program, an affiliate advertising program designed to provide a means for sites to earn advertising fees by advertising and linking to Amazon.com. Any highlighted, clickable Amazon link you see is an affiliate link that I may earn advertising fees on.
Thank you so much for being a faithful reader and supporter of Foodtastic Mom. Be sure to PIN and print this recipe!
Grandma's Dinner Rolls Recipe
Ingredients
- 1/4 cup sugar
- 2 packets active dry yeast
- 2 cups milk scalded and cooled to between 105 and 110 degrees F
- 1 stick (8 tbsp) unsalted butter
- 2 large eggs
- 6 cups all-purpose flour
- 3 tsp salt
Instructions
- Place milk in a microwave-safe glass measuring cup. Microwave for 4 minutes. Place in refrigerator and allow to cool to between 105 - 110 degrees F.
- Melt butter and set aside to cool.
- In the bowl of a stand mixer fitted with the dough hook, combine the 6 cups of flour and salt.
- Remove the milk from the refrigerator and whisk in the yeast and sugar. Allow to rest for 5 minutes.
- Beat the 2 eggs into the melted butter. Add the yeast, sugar and milk mixture to the flour and salt and knead on low speed until dough begins to come together. Stop mixer and add the eggs and melted butter. Knead the dough, scraping down the sides of the bowl if necessary, for 6 minutes.
- Remove the dough hook and bowl from the stand mixer. Cover the dough ball in the bowl loosely with a towel.
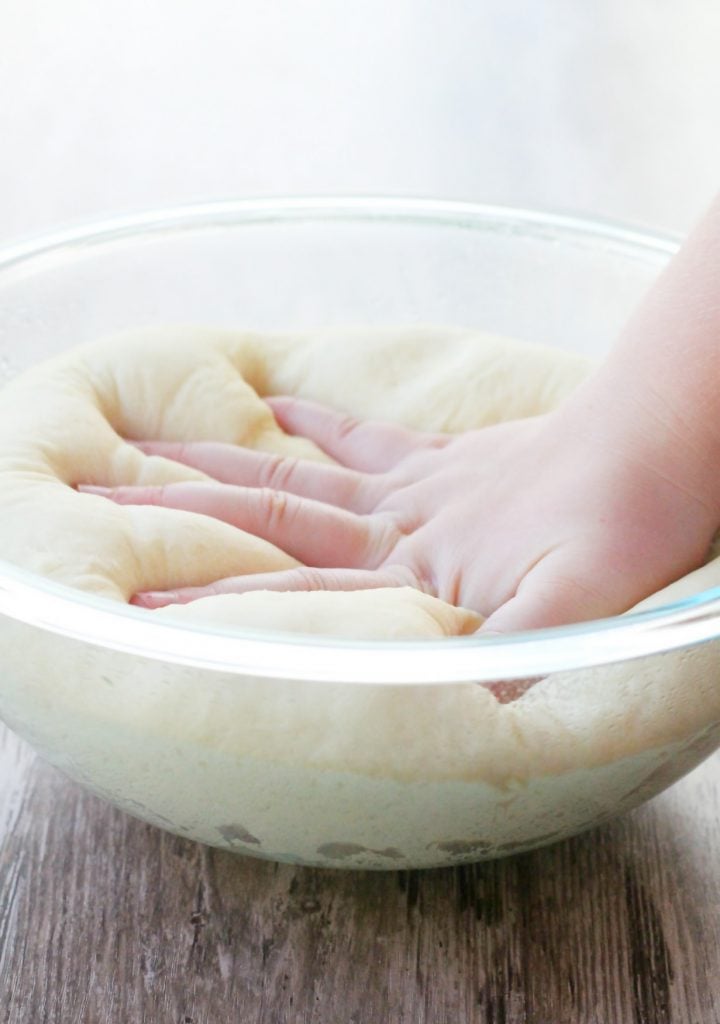
- Place the dough bowl in a warm spot and allow to rise for about 60 minutes or until dough is doubled in size.
- Gently push down on the dough to deflate. Place on clean counter and evenly divide dough into 8 log-shaped pieces, using a bench scraper or sharp knife.
- Cut each of the eight dough logs into four equal pieces, giving you 32 rolls. Gently cup each roll in your hand to "plump" them up a bit in the center.
- Place the rolls in well-greased baking dishes, spaced about 1/2-inch apart. Place dishes in a warm spot and cover loosely with a towel. Allow rolls to rise in baking dishes for 60 minutes more.
- Bake at 375 degrees for 14 - 18 minutes. Watch closely in the last few minutes to make sure tops don't over brown.
- Brush the tops of the rolls with melted butter when they come out of the oven. Serve warm.

Brian Jones says
They look superb, the ingredients are similar to a Japanese egg-enriched dough I was playing around with a couple of weeks ago. I must make these!
foodtasticmom says
Thank you so much Brian. And now I am intrigued by the Japanese dough you were using. Hopefully you’ll publish a recipe?!
Julia says
Jill, the rolls look amazing and the best part is that they can be made ahead and frozen! Thanks for the recipe 🙂
foodtasticmom says
You’re very welcome 🙂
Emily says
I swear recipes from Grandma are always the best recipes. I have to try these rolls!
foodtasticmom says
You do have to try them!
Cliona Keane says
These are the perfect accompaniment to any holiday dinner!
foodtasticmom says
I agree! Thank you Cliona!
Jacqueline Debono says
These rolls look beautiful. I love the idea of serving homemade rolls at dinner or lunch. Really need to try this recipe! Going to pin for later!
foodtasticmom says
Terrific. Thanks very much for the Pin!
Tina Dawson | Love is in my Tummy says
Oh wow, those look like little pillows!!! I cannot wait to try it myself!
foodtasticmom says
I do hope you try the. Thanks Tina!
Krista says
I just found your website while looking for a way to use some outdated milk. We enjoyed these rolls, I had them mixed up before I realized that the overwhelming majority of your 5-star reviews for this recipe are from people that have NOT actually tried the recipe yet. I found this to be true on the other recipes I looked at here. I don’t consider “oh these look yummy, I’ll have to try them” a valid review and usually won’t try a recipe weighted with reviews of this type.
foodtasticmom says
I am so glad you enjoyed these rolls! Since you are being honest with me, I’ll return the favor and tell you how the “game” of reviews works. Competition is stiff to get on page one of Google. Google favors recipes with lots of positive ratings (it’s just one of the criteria to help me get my recipe to the top and therefore actually seen by more people). I would much rather have all reviews that are honest, like yours, by people that have actually made my recipe. But, in order to get more of those, I have to go into Facebook groups with other bloggers. I write reviews for them and in exchange, they write reviews for me. That’s how it works and why you see so many reviews from people who haven’t actually made the recipe. Like I said, I MUCH prefer and wish for REAL REVIEWS! Thanks for trying my recipe and giving me real, honest feedback.
Ryan 76 says
Older person now trying to duplicate my Grandma’s rolls and found they didn’t rise enough, kneaded by hand for 6 plus minutes and put in a little larger pan. Are those two areas I need to sharpen up on?
foodtasticmom says
I’m not an expert baker, but how new was your yeast? That could have been the problem. I usually knead these with my mixer, so not sure if the hand kneading affected anything. I think they do tend to rise higher in a smaller pan because they push together and have something to kind of grab onto. There are a lot of things that can go wrong in the baking process. Those are just some of my guesses. Hopefully they still tasted good and next time they’ll rise well for you!
Elaine says
I made them for Christmas when I couldn’t find my favourite old recipe, I now have a new favourite recipe that everyone loved. I’ll be making them again next week for a 50th birthday dinner. Perfect. Thank you
foodtasticmom says
I’m so happy to hear this! Thanks for sharing Elaine. 🙂
Jeff says
Would the dough freeze well? Wondering if I can make that ahead of time and bake day of.
foodtasticmom says
Yes. I actually have as separate recipe post for instructions on how to make these rolls ahead…
You just make the rolls through shaping them into balls, freeze them on a baking sheet first, then place them in a freezer bag. Take them out of the freezer and allow them to rise/thaw for about 4 hours. I need to just combine the two posts.
https://www.foodtasticmom.com/make-ahead-dinner-rolls/
Rebecca Cole says
Hi! What happened to your freezer instructions? That post link re-routes back to this recipe, so there are no freezer instructions.
foodtasticmom says
So sorry! I was going through and deleting old sponsored posts that were outdated. And I forgot to update this post with the make ahead instructions.
Make the rolls through Step 9 – where you formed them each into individual rolls. Place those rolls on parchment lined baking sheets and put them in the freezer for a couple of hours. Then transfer the frozen rolls to freezer-safe bags. They will keep in the freezer for up to one month.
When ready to bake, place them as instructed in a well greased baking dish, about 1/2 inch apart. Cover with a towel or plastic wrap that you have sprayed with cooking spray.
Allow them to rise for about 3 – 4 hours (instead of 1 hour if baking from fresh). You want them to about double in size.
Then proceed with baking instructions, 375 degrees F for 14 – 18 minutes.